Van Insulation & Ceiling Installation
When I bought the van, the previous owner had put some insulation in the van. I pulled most of it out because I needed to build out the studs first. After the studs were placed, I used foil bubble insulation from Lowe’s to cover all the walls and roof.
I used double sided carpet tape to attach it to the calls and roof and cut it to size as I went through the van. This process was fairly quick.
Next, I used standard pink insulation from lowes to fill in the space between the studs. I used a staple gun to staple the paper on the insulation roll to the stud.The roof was a little trickier to complete.
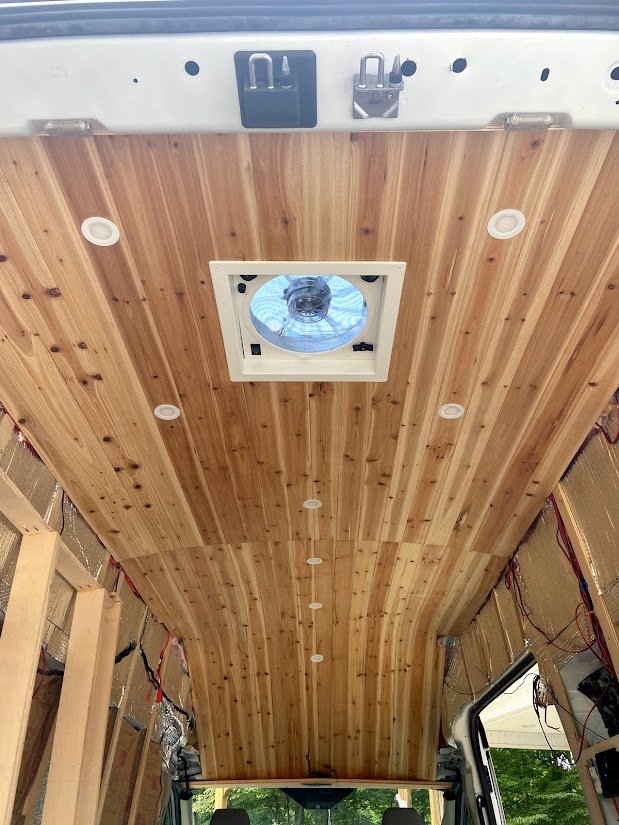
I decided to remove the header (the storage unit about the driver seat) and create my own with more storage. After removing the header, we used ¼” knotty cedar tongue and groove planks to cover the roof. This was a big challenge since the roof bends so much at the front of the van. In order to get the wood to bend enough to attach to the studs we had to stream each piece to make it more pliable. To steam, we used a long plastic drain, duct taped one end completely and then duct taped the other side with only enough room for the piece of wood to slide in and for the steam to enter the pipe. Once the piece of wood was thoroughly streamed and pliable, we attached it with wood glue and a nail gun to the ceiling studs. This process took FOREVER but the curved ceiling is the most beautiful part of the build.
Once enough planks were up on the ceiling I slid pink insulation in between the board and the paneling of the ceiling. The insulation made a HUGE difference in the temperature inside the van. Do not skimp on insulation.
See more photos of the insulation and ceiling install process here.