Roof Updates
I did not even think to look at the roof of the van when I bought it. It was so tall. The whole roof could have been rusted or basked in and I would have happily walked away from the dealership with the van. Luckily it wasn’t that bad.
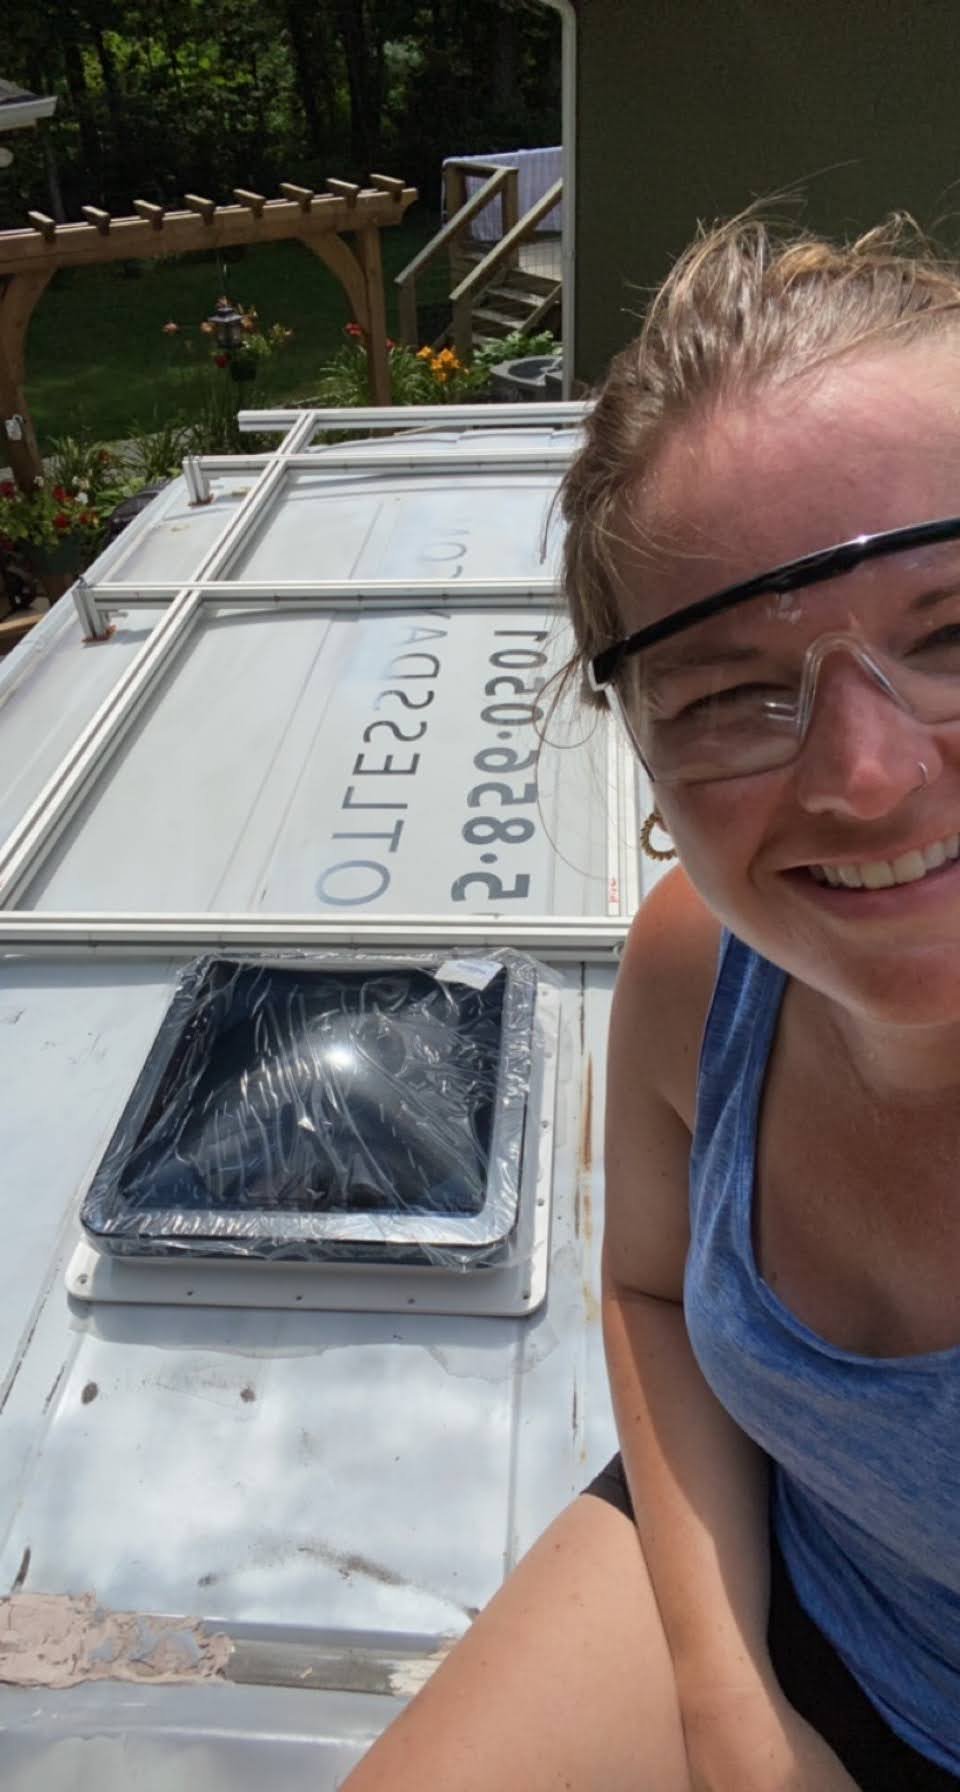
There were some areas that definitely had some wear and tear and I noticed that there was a number painted on the top - presumably for some business. The top brake light at the center of the two doors was missing and there was some type of caulk or sealer that someone added when the roof was bashed in. Luckily, all could be fixed up pretty well with some elbow grease and hard work.
I started by giving the roof a proper cleaning. I used a sponge brush and Krud Kutter - if you have never used Krud Kutter, I highly recommend. It is a degreaser and will break down all kinds of dirt and grime. Next, we cut in a hole for the fan. I have a Fan-Tastic fan from Amazon. It is a bit loud but works just fine! After installing the fan, we got to work on attaching the roof rack. The rack is built out of aluminum pipes and was attached to the holes of the ladder rack on top of the van. My van already had the holes drilled out and sealed so that I would not be creating new holes in the roof - less of a chance of creating a leak into the van! The roof rack fits all four of my solar panels and leaves room if at some point I want to add a kayak or paddleboard to the roof.
After we got the roof rack attached, I got to work on covering the whole roof with Flex Seal. I should have done this BEFORE attaching the roof rack but that is how it goes sometimes. Flex seal gave the roof a great new shiny bright white finish and at the same time sealed it from any water that may come in. Then finally I installed a new break light and hooked it up to the existing wiring and the roof is ready to go!
See more photos of the roof repair phase here.